Image Map

Wednesday, June 25, 2014

| diy | vanity display

hello loves!  Today I am going to show you the easiest project ever.  Literally, anyone can do it and there are endless options when it comes to your taste and style.  We are going to be making a display for your desk or vanity.  I use mine on my vanity and I display my most-used items so they are easily accessible in the morning or when I am running out the door.  Here is what mine looks like -


As you can see, I have my moisturizers, most commonly used lipsticks, the color of nail polish I am wearing for easy touch-ups, my travel sized perfume for quick application, and my most-used accessories that help me look somewhat pulled together when trying to get out of the house with a baby. {all accessories from b.ivy!}

The only items you will need for this project are 2 plates, 1 candlestick and a strong glue.


That is where the fun part kicks in.  You can pick any plates and candlesticks that you like.  You really can't mess up.  I used a blue and white seersucker plate that I got on sale at Homegoods for $4 and then a stray white plate I had laying around the house.  I bought the candlestick at Target.  Then you glue.


You glue the bottom of the candlestick and center it on the larger plate.  Then you glue the top of the candlestick and center the smaller plate on top of the candlestick.  Then you wait 24 hours to let the glue dry.  That's it! Have fun crafting!


Tuesday, June 17, 2014

Freshly Picked Moccasins Giveaway + $50 Gift Card to b.ivy!


I am SO excited to announce this giveaway! Bow Ties and Bubbly has partnered with Freshly Picked to give one lucky follower a pair of the much-loved moccasins and a $50 gift card to b.ivy! I am going to assume that everyone has heard of the most amazing brand of children's shoes, but if you have not, you are missing out.  Freshly Picked moccasins are these wonderful leather shoes for all of the littles in your life.  They come in every color under the rainbow and manage to stay on your babe's feet no matter how skillful at kicking and pulling they are.

Here is little B rocking my favorite - GOLD! And they now make the most fantastic leather carryalls for all you mommies out there.  Make sure to check out Freshly Picked to see their full line of moccasins and accessories and tell me which is your favorite!  Also, b.ivy is full of all new items and we are adding more and more daily!  Check out the store and let me know what items you are lusting after!


Enter today by following us on Facebook and Instagram!


a Rafflecopter giveaway

Wednesday, June 11, 2014

| diy | tassel garland

One of the easiest ways to dress up a buffet table, cocktail table or dessert table is with a string of fun tassel garland.  I am sure you have seen images of these floating around on Instagram and Pinterest but I am going to show you an easy way to make one of these for just a few dollars!  You can make them in just about any color scheme and I am sure most of you have these items already hanging around the house somewhere.


All you will need is tissue paper (I got mine at Target), scissors, string (I used twine but you can pretty much use anything you have on hand), and tape or twist ties.  I had some leftover twist ties from a prior DIY so I used those to keep my tassels from unraveling.


The next steps might be easier to show you in photos.  You take a piece of tissue paper out of the package, unfold it completely, fold it in half horizontally, and cut in half (vertically) down the center of the paper.  


You then will want to fold the paper up about four times like you are folding a piece of paper.  This is just to keep you from cutting 60 tassels.  You will thank me later!


Next, take the end of your paper that is open at the bottom (not the folded/creased end), and start making cuts from the bottom up towards your folded end, stopping at about 1 1/2" - 2" before you get to the end of the paper.  


Again, make sure you are cutting from the end of your paper that is not creased/folded and that you are leaving enough room at the top.  This will be crucial when creating your tassel.  Now the fun part.  When you are finished cutting, open your paper all of the way again and you will having something like this (hopefully!).  


Start rolling your paper up from one end all the way to the other. You do not have to make it super tight at this point - just make sure you adjust your tassels as you are rolling so they don't get all tangled up. 


Once you have finished rolling all the way to the end, take the center of your tassel and start making a tight roll in the middle.  Your tassels will start to resemble pig tails or those fun things we used to have on our bike handles.


Stop rolling when you start to see the ends of the cuts.  Then make a loop in the center of the tassel and tape or twist tie.  


Then place on your string and you are finished!  This project takes just a little time and looks awesome when you are finished.  Have fun crafting!


Monday, May 26, 2014

| diy | drink stirrers

One of the easiest ways to add flair to your cocktail is a fun drink stirrer and I am going to show you the easiest way to make one in a matter of seconds.  I keep so many different washi tapes around so that whenever I have company over,  I can throw a few of these together and it just makes everything feel more exciting.  Cheers!


To get started, all you need are wooden sticks (you can get these at any arts and crafts store - I got mine at JoAnn Fabric) and any washi or decorative tape you can find.  


Then you just cut about a 4" piece of tape and fold it over the wooden stick.  I almost feel silly typing out these directions, but I swear they are just so fun, I had to share.


Then you cut a small "v" to create a pennant and you are finished.  Have fun toasting!


Friday, May 9, 2014

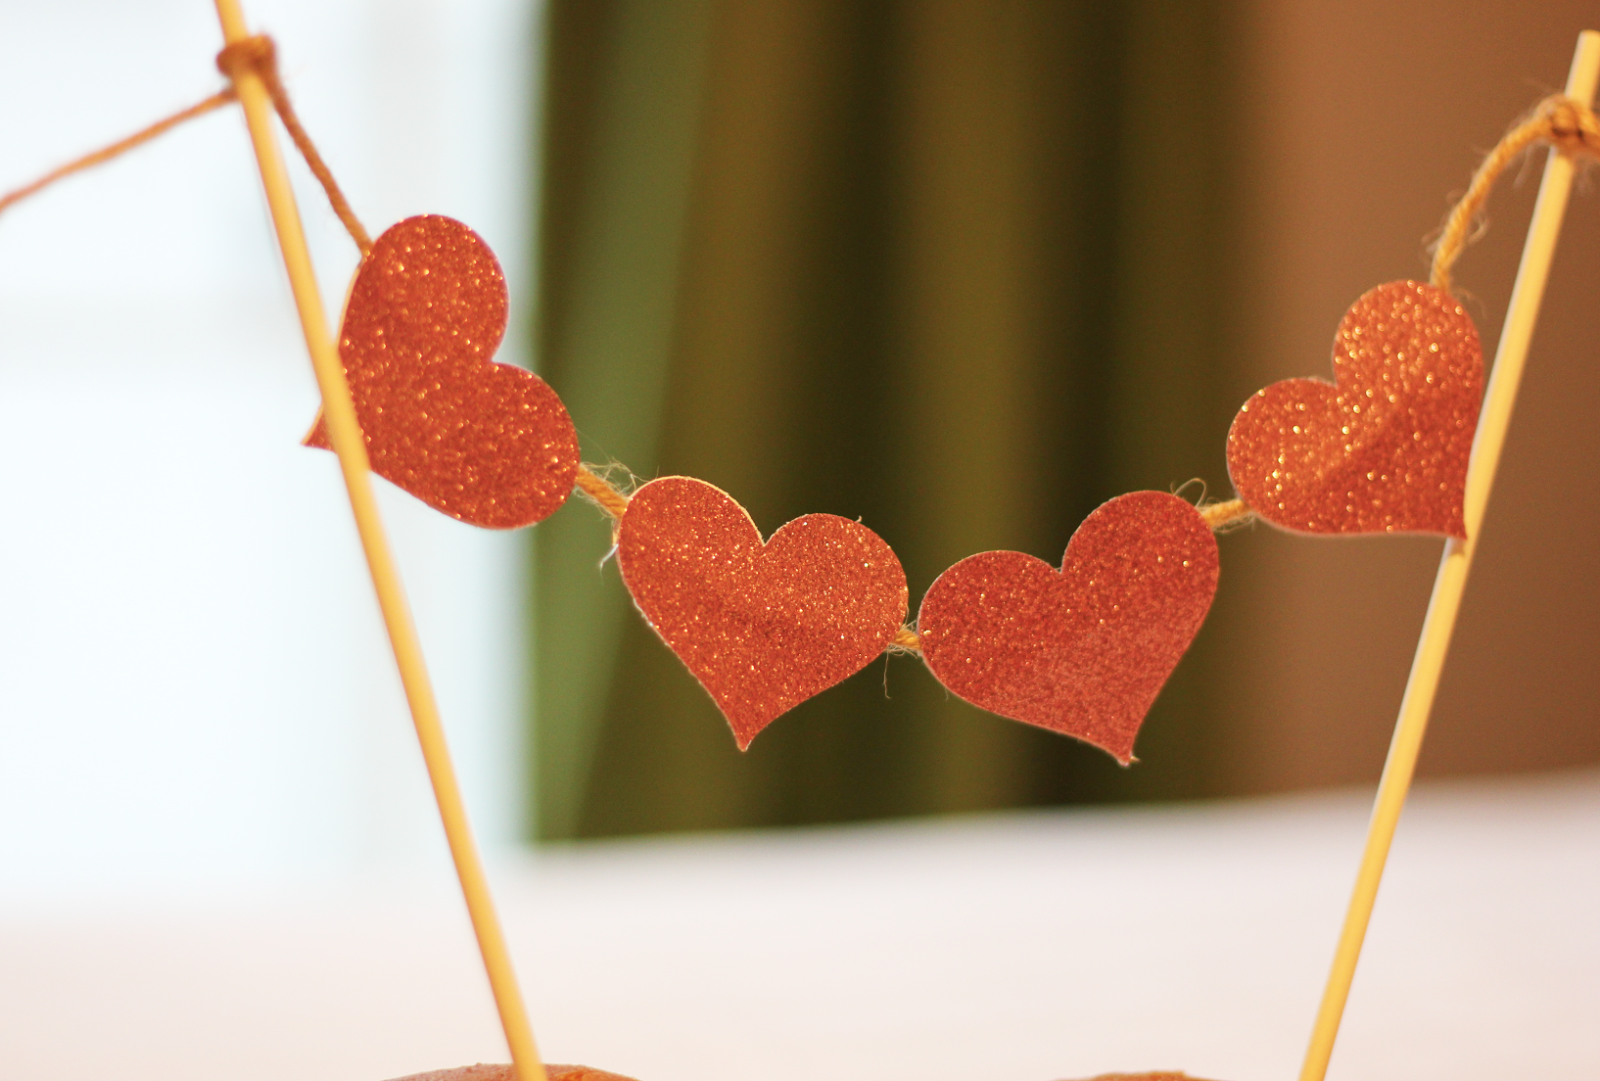
| diy | heart cake topper

As some of you know, my little angel has a heart defect.  We are so incredibly blessed and amazed at how well she is doing and we are so lucky to have her in our lives.  Every day, we think about how far she has come from her second day of life having to undergo her first open heart surgery.  We celebrate each day and love her more than anyone can even imagine.  Because of this, we are celebrating her 6 month birthday with a special family dinner at home.  She will be heading off to Atlanta soon for her 2nd surgery which we are hoping will be the last for a couple of years, and we want to celebrate with each other before the trip.  In planning for this dinner, I wanted to make a special cake topper - and what could be more fitting than hearts!  It was so easy and I can't wait to bring it out for the family festivities next month!


All you need are the items below: glitter card stock, bamboo skewers or lollypop sticks, a hot glue gun, a heart hole punch (or whatever shape you would like to use), and a string.  You don't actually need the special hole punch, but it makes things so much easier and you can get them at Michael's with their 40% off weekly coupon.  If you don't use the punch, make sure to trace each heart from your original so they all line up when gluing them together.


Then you are going to start punching out the hearts.  I punched out 8 - so 4 hearts total on the topper.


Then put hot glue on the back of each heart and place the string across the hearts.  Then glue the other hearts on top.  The length of the string and amount of hearts really depends on the size of your cake.  My string was about 12" long.


Let glue dry and tie each end of the string to the skewers.  


Then stick in your cake and enjoy! 

Thursday, May 1, 2014

| b.ivy | the whole story

I figured since this blog is brand new,  I would start off by telling everyone why I started this blog and why I started my online boutique, b.ivy.  It is quite a long story so I will try and keep it short.  But before I go into any outfit posts or other fun posts, I felt like sharing a bit of myself was a more appropriate start to what I hope will be a long journey of blogging.

About 15 months ago my life was pretty normal.  I had a great job at a small private school working in marketing and social media.  My husband and I had been trying to have a baby for about a year and a half but hadn't had much success.  We were literally about 6 days from meeting with our fertility specialist to discuss IVF treatments when I took a test and found out I was pregnant.  It was one of the most exciting days of my life.


Even though I had a horrible time with morning all day sickness, that seemed so small in the big picture and I could only focus on how incredible our lives would be in just a few short months.  On our 20 week ultrasound, my husband and I went in so happy to see photos of our little one.  We came out with tears in our eyes and some of the scariest news we could ever imagine.

Our little girl had a heart defect.  One that would change our whole course of pregnancy and later, our course of life.  We could no longer deliver or receive care in Savannah (where we live) and we would have to travel to Atlanta for the delivery and heart surgeries.

Those next few months were some of the toughest of my life.  Between trips back and forth to Atlanta, my husband spent most of his days researching everything he could on her conditions while I just tried to hold back tears.  Every. Day.  We ended up moving into the Ronald McDonald House a few weeks before my due date so that we didn't risk delivering in Savannah.  The house was absolutely wonderful and we are so incredibly lucky to have them.

At 38 weeks pregnant, our little girl was delivered via c-section with a team of ICU doctors by her side.  She was immediately transported to Children's Healthcare of Atlanta where she had her first heart surgery at 2 days old.  Not only was I in a hospital that I was completely unfamiliar with, but my new baby was miles away.  I didn't get to hold her or even feel her against my skin.

After only 10 days in recovery, our strong, amazing and perfect baby girl was released and we could finally take her home.  She came home with a feeding tube, a heart rate monitor and a monitor to track her oxygen levels.  Those first few weeks were an absolute blur filled with sleepless nights and emotional days.  We had a home nurse and doctor's appointments every day to make sure she was recovering well.  She wasn't allowed to be in doctor's offices so we had to go in before they opened for all of our appointments.  If she got sick, it was life threatening.  She had to stay at home and only family could stop by.

Because of this, she obviously couldn't be in daycare, so I had to leave my job.  Leaving my job was a decision I didn't really have, but knew that it was the absolute best thing I could do for my daughter.  Because I left my job and because our medical bills have taken over our lives, I had to figure out a way to help take care of my family.  That is where b.ivy was born. I have always wanted to own my own business and I have always had a passion for girly and preppy gifts and clothes.  That passion is what drives me to make this the best business it can be.  I am pouring my heart and soul into this venture and I look forward to seeing what all it has in store!  I want to thank everyone who has already supported my launch with giveaways, collaborations and purchases!  We are so thrilled and can't wait to see where this journey takes us.

As for Brayden, we have always known that she would have to have additional surgeries.  Her next open heart surgery is coming up in a few weeks and it is by far the biggest she will have.  I have so much faith in her team of doctors and know that we have done everything we can to get her to the best possible place she can be.  So I know things will be okay.  She is amazing.  She is the strongest person I have ever met and I can not imagine my life without her.

Thank you so much for listening and supporting me in this new venture!


Wednesday, April 30, 2014

| cocktails | jalapeno infused vodka

One of my favorite things to do during the summer months is to make different infused vodkas and serve them in pretty crystal decanters.  You can infuse vodka with so many things but one of my absolute favorites is a jalapeño infused vodka.  Every time I run into Homegoods I pick up a couple glass decanters for about $6 each and use those when I need them.  They are also awesome as hostess gifts for summer bbq's or holiday parties.

First you want to grab a bottle of vodka, a paring knife, 2 jalapeño peppers and a glass container with a tight fitting lid.


Then you want to slice the jalapeños in half, remove the seeds and cut the peppers into strips small enough to fit into the top of the decanter.  Pour half of the vodka into the decanter and place the strips of the pepper into the jar. 


After you add both jalapeños, replace the lid on the decanter and store in a cool, dry place for 2 weeks.


Then your vodka is ready to drink!  I like mine really spicy and usually drink it pretty quickly so I don't remove the peppers, but if you want a less spicy vodka or want to store it a bit longer in the fridge, you can remove the peppers right at the two-week mark.  I mix mine with a bit of club soda and add a jalapeño for garnish.  Cheers!


09 10